Tile Roof Replacement Process in Arizona (Step-by-Step Guide)
See the Full Tile Roof Replacement Process
See how Roof Fix Arizona installs tile roofing systems built for Arizona’s extreme heat and monsoon conditions.
Step-by-Step Tile Roof Replacement Process
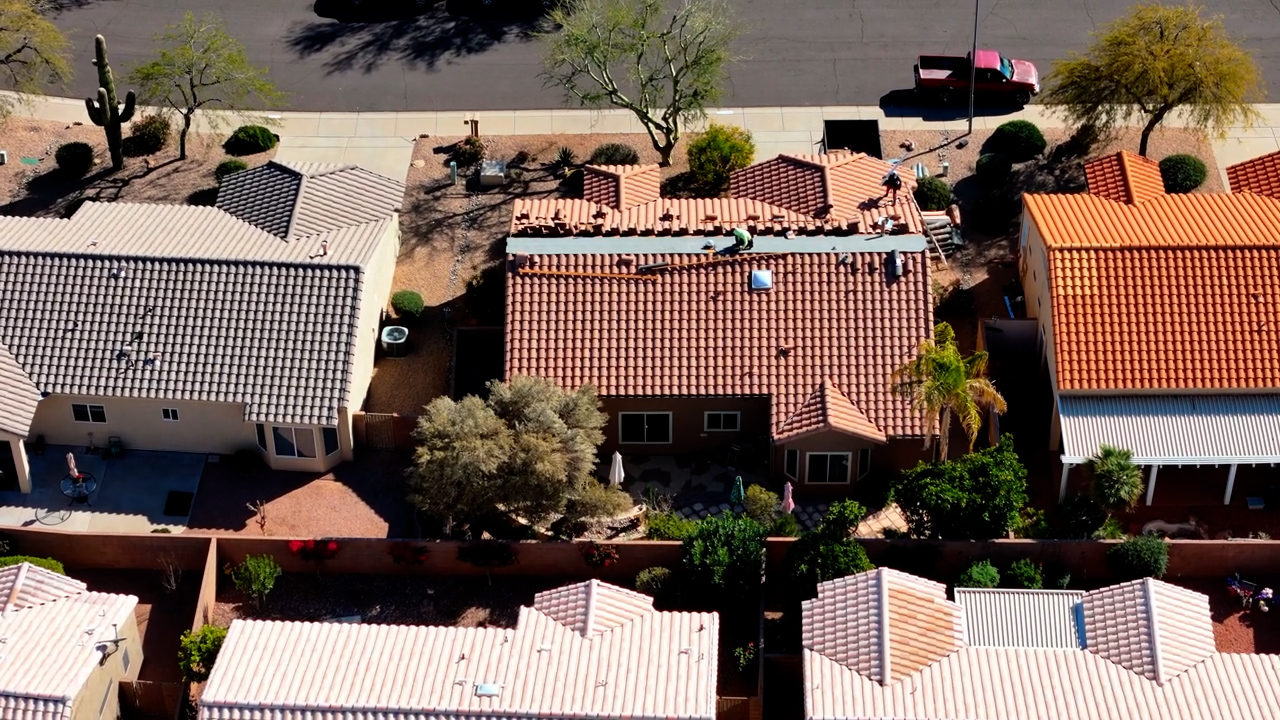
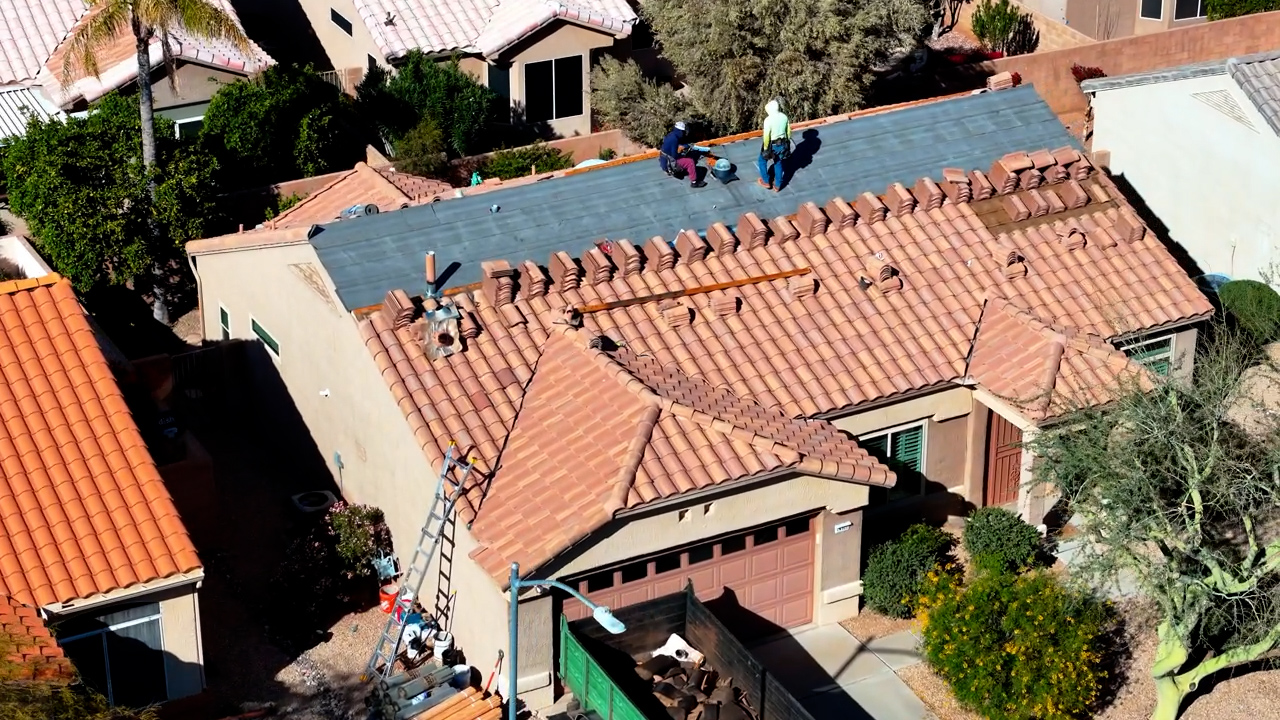
Step 1: Tile Removal
Existing roof tiles are carefully lifted and stacked. Old underlayment and batten strips are removed down to the roof deck.
Why this matters: Removing all previous materials exposes the structural base of the roof, allowing for a full evaluation and proper system rebuild.
Step 2: Roof Deck Inspection & Repair
The exposed roof deck is inspected for rot, deterioration, or structural weakness. Any compromised wood is removed and replaced to ensure a strong, stable foundation.
Why this matters: The roof deck supports the entire system. If it is not structurally sound, the new roof will not perform correctly over time.
If you are noticing signs of potential damage, review our guide on tile roof leaks in Arizona to understand how these issues typically present.
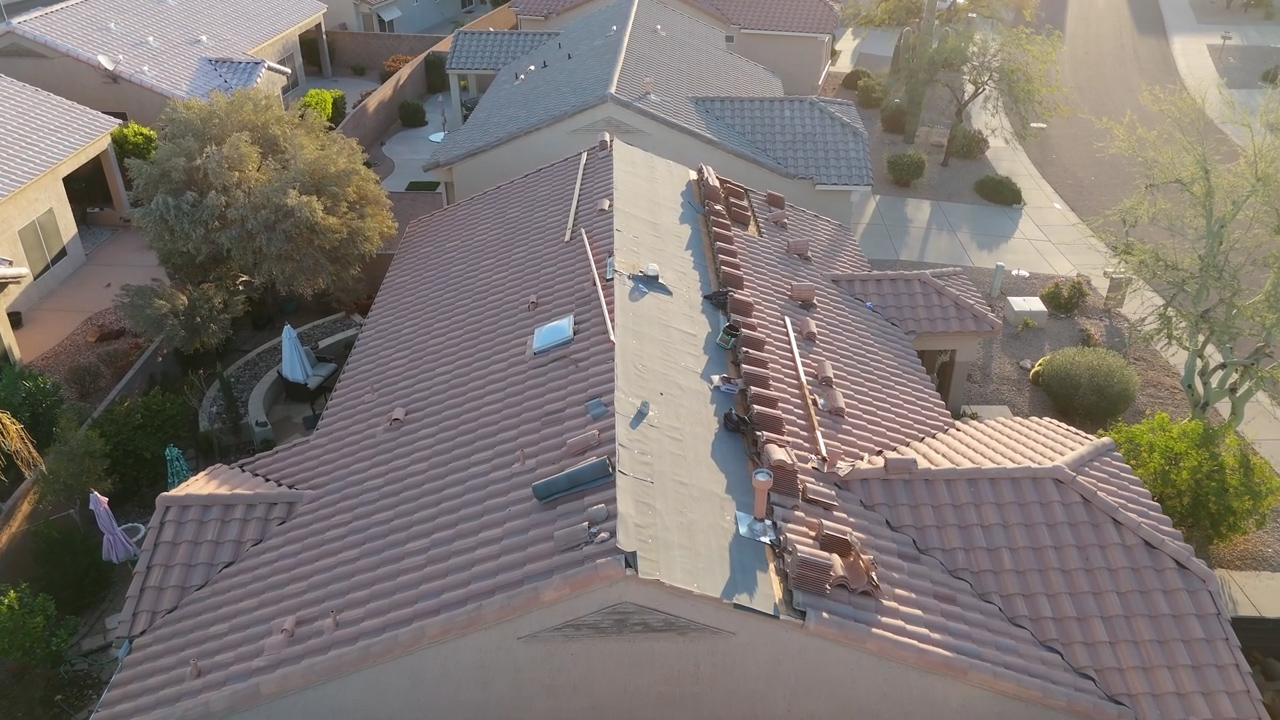
Step 3: Underlayment Installation
A double layer of 40-pound asphalt underlayment is installed using plastic cap head nails. This layer serves as the primary waterproof barrier beneath the tile system.
Why this matters: While tile provides surface protection, the underlayment is what prevents water intrusion. Learn more in our tile roof underlayment replacement guide.
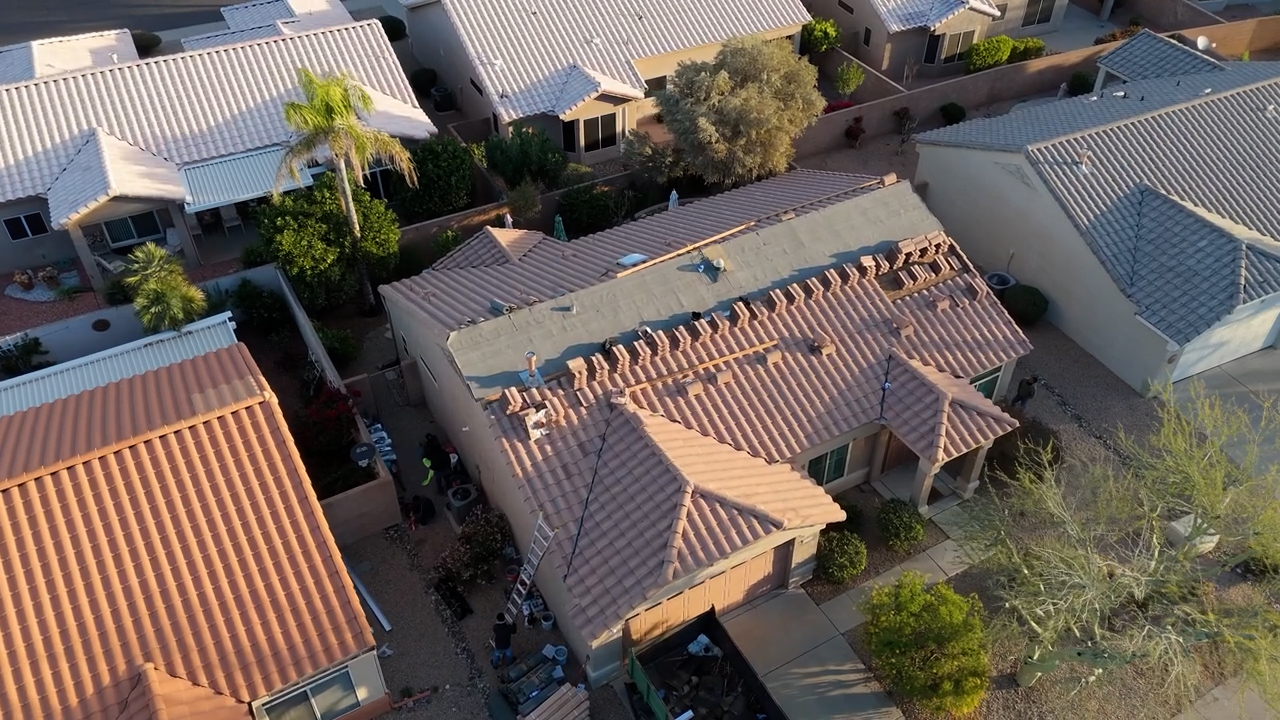
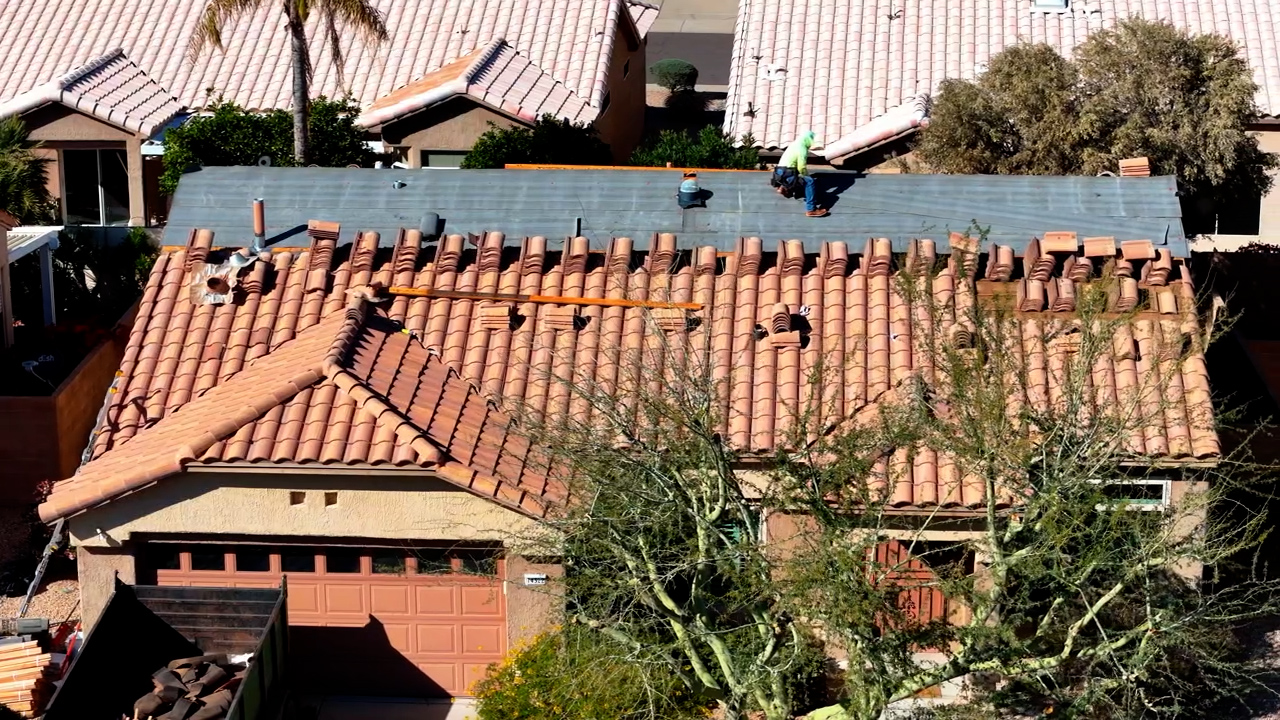
Step 4: Battens, Flashing & Ventilation
New wood batten strips are installed to support tile placement and spacing. Channel flashing and roof vents are added to ensure proper water flow and ventilation.
Why this matters: Proper drainage and airflow are critical in Arizona. Without them, water can accumulate and heat can become trapped, reducing roof lifespan.
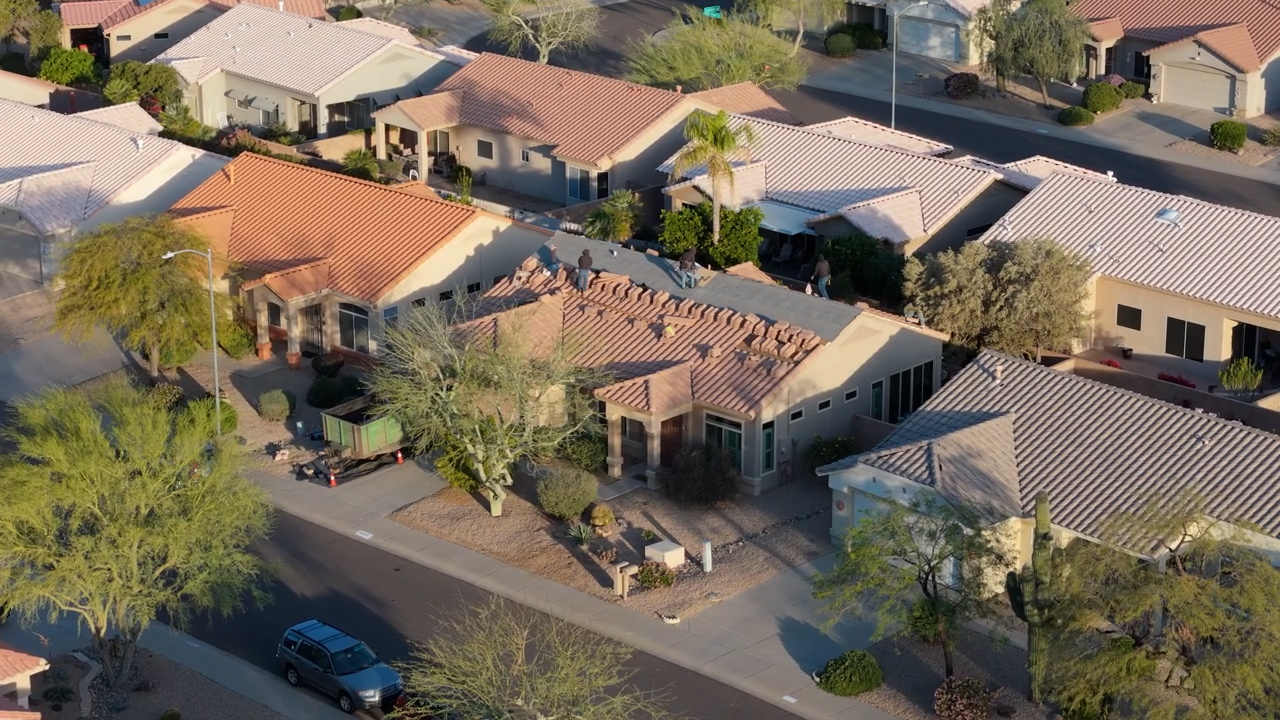
Step 5: Tile Roof Installation
Roof tiles are carefully reinstalled across the system. Perimeter rows are secured with mechanical fastening to improve wind resistance and long-term stability.
Why this matters: Correct installation ensures the roof can withstand high winds and environmental stress without shifting or failure.
Step 6: Weather Protection & Finishing
Why this matters: These finishing components protect against water intrusion at critical junctions where leaks are most likely to occur.
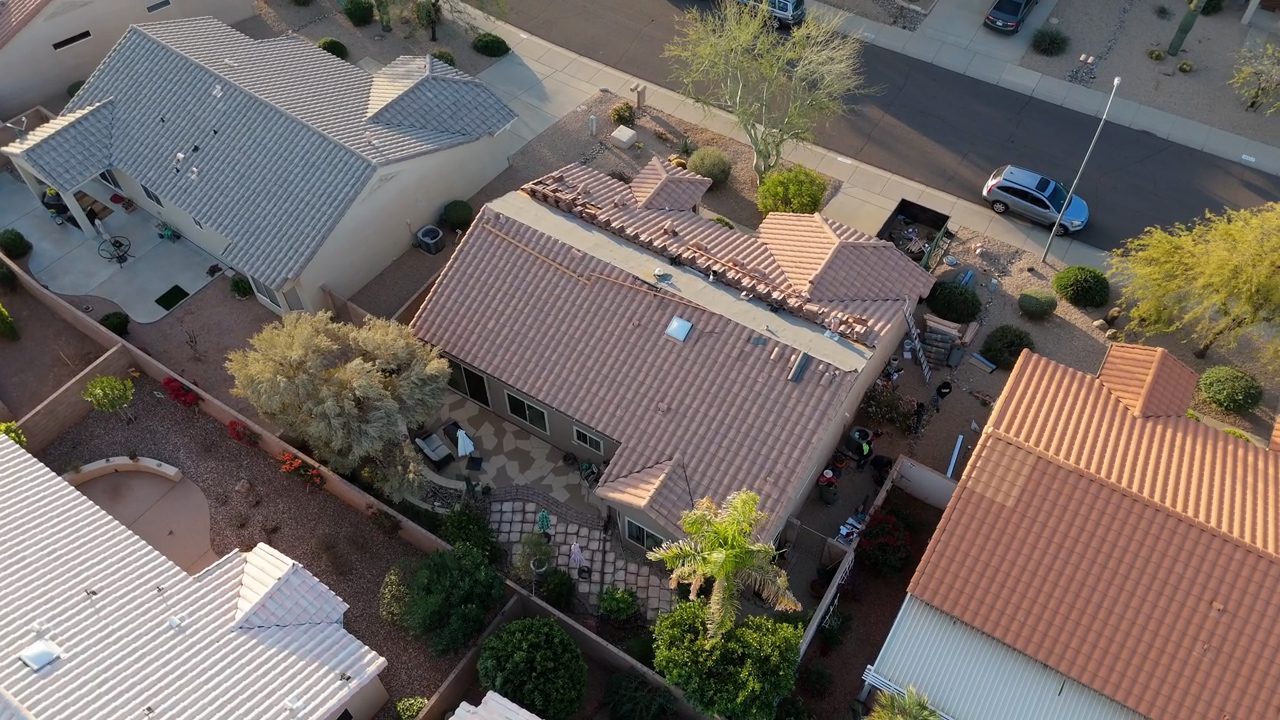
Cleanup & Jobsite Care
Roof Fix Arizona maintains a clean and organized jobsite throughout the project. Cleanup is performed daily, and magnets are used to remove nails and debris.
- Daily jobsite cleanup
- Magnetic sweep for nails and debris
- Final site inspection for safety
Why this matters: A clean jobsite protects your property and ensures a safe environment during and after the project.
Understanding When This Process Is Needed
If you are trying to determine whether your roof requires a full replacement or a targeted repair, review our breakdown of tile roof repair vs replacement in Arizona.
For homeowners budgeting for a full replacement, our tile roof replacement cost guide outlines pricing ranges for projects in Sun City and the Greater West Valley.
Frequently Asked Questions About Tile Roof Replacement in Arizona
Homeowners in Arizona often have questions about how tile roof replacement works, how long it takes, and what to expect during the process. Below are answers to some of the most common questions.
How long does a tile roof replacement take in Arizona?
Do you reuse existing roof tiles during replacement?
What happens if roof deck damage is found during replacement?
Why is underlayment important for a tile roof?
How are roof tiles secured to handle Arizona weather?
What protects the roof at hips and ridges?
Will my property be protected during the roof replacement process?
Schedule a Tile Roof Inspection
If your tile roof is showing signs of age, wear, or performance issues, the first step is a professional inspection.
Roof Fix Arizona serves homeowners throughout Sun City, Sun City West, Peoria, Surprise, and the Greater West Valley.